Juicy Baked Chicken Breast (Never Dry!)
This post may contain affiliate links which means I may receive a commission for purchases made through links at no extra cost to you. I only recommend products I truly believe in. Thank you for your support!
Are you tired of serving dry, tough oven baked chicken? I’m here to change your cooking game with the ultimate moist chicken recipe. It’ll make your taste buds dance!
Baking the perfect chicken breast is easy once you know the techniques. This guide is for both kitchen newbies and seasoned cooks. You’ll learn to make juicy baked chicken every time.
Imagine pulling a perfectly cooked chicken breast out of the oven. It’s golden on the outside and tender inside. No more rubbery, disappointing meals. With a few pro tips, you’ll become a chicken-cooking champion!
Chicken breasts are an incredible protein source. They’re packed with nutrients and low in calories. A typical 6-ounce breast has about 220-240 calories. It’s a lean, healthy protein option for any meal. By mastering the right cooking technique, you’ll turn this simple ingredient into a culinary masterpiece.
Ready to unlock the secrets of consistently juicy baked chicken? Let’s dive in and make your next meal unforgettable!
The Secret to Perfectly Moist Baked Chicken Breast
Getting a tender chicken breast recipe is easy. It’s about knowing how chicken works and using the right cooking methods. Let’s explore how to make chicken that will delight your taste buds!
Understanding Chicken Breast Anatomy
Chicken breasts are lean, with little fat. This makes them dry out fast when cooked. Their muscle fibers are tight, leading to toughness if heated too long.
Why Chicken Breasts Often Dry Out
- Uneven thickness leads to inconsistent cooking
- High cooking temperatures cause moisture loss
- Overcooking by even a few minutes can result in tough meat
- Lack of proper preparation techniques
Temperature Control Basics
Mastering chicken breast baking hacks means controlling the temperature. Cooking at the right temperature keeps it juicy inside.
| Chicken Breast Thickness | Cooking Time | Internal Temperature |
|---|---|---|
| 1/2-inch thick | 16-18 minutes | 165°F |
| 3/4-inch thick | 20-22 minutes | 165°F |
| 1-inch thick | 24-26 minutes | 165°F |
Pro tip: Always use a meat thermometer to check the internal temperature. 165°F is the magic number for safe and perfectly cooked chicken!
Essential Ingredients and Equipment for Success
Getting ready to make amazing chicken breast starts with the right tools and ingredients. Your kitchen setup is crucial for a great easy baked chicken experience! Let’s look at the must-have equipment and ingredients that will turn your chicken breast marinade into a culinary masterpiece.
Kitchen Tools You’ll Need
Creating the perfect flavorful chicken seasoning needs some key kitchen tools:
- Digital meat thermometer
- Baking sheet with rimmed edges
- Meat mallet or rolling pin
- Sharp kitchen knife
- Mixing bowls
- Measuring spoons and cups
High-Quality Ingredients List
Choosing premium ingredients makes your chicken truly special. Go for fresh, high-quality chicken breasts and top-notch seasonings.
| Ingredient Category | Recommended Choices |
|---|---|
| Chicken | Organic, free-range chicken breasts (about 1-inch thick) |
| Oils | Extra virgin olive oil or avocado oil |
| Salt | Kosher or sea salt |
Seasoning Combinations That Work
Making an unforgettable chicken breast marinade is about finding the right flavor balance. Here’s a seasoning blend that always hits the mark:
- 2 tablespoons smoked paprika
- 1 tablespoon garlic powder
- 1 teaspoon black pepper
- 1½ teaspoons kosher salt
Pro tip: Always pound your chicken breasts to an even ¾-inch thickness. This ensures even cooking and prevents dry edges!
The Game-Changing Brining Method
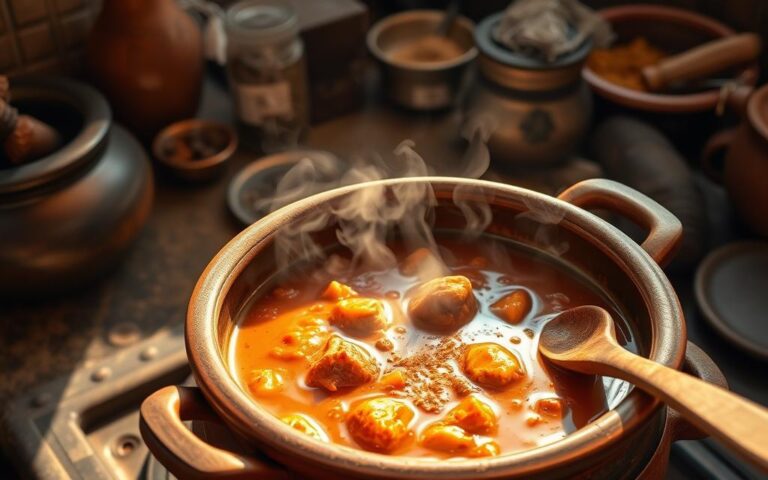
Ready to make your chicken breasts incredibly juicy? Brining is the secret to turning dry, bland chicken into a delicious treat! I’m about to share juicy chicken cooking tips that will change your kitchen game.
Let’s explore the magic of chicken breast marinade for tender, flavorful meat every time. The perfect brine is both an art and a science. The right measurements make all the difference.
Brining Basics You Need to Know
- Use 4 cups of cold water for your base
- Salt options:
- 6 tablespoons Diamond Crystal kosher salt
- 4½ tablespoons Morton’s kosher salt
- 3 tablespoons fine or table salt
- Optimal brining time: 30-60 minutes
Pro tip: The sweet spot for brining chicken breasts is precisely 1 hour. This duration ensures your chicken is perfectly seasoned, incredibly tender, and bursting with flavor!
Brining Time Breakdown
- 15 minutes: Minimal salt flavor
- 30 minutes: Slight tenderness improvement
- 1 hour: Perfect texture and seasoning!
- 2 hours: Risk of becoming too salty
- 4+ hours: Not recommended
Temperature matters too! Always use cold water for brining. Warm water can compromise the meat’s texture and reduce the overall juiciness of your chicken breast marinade.
Want to level up your brining game? Add garlic granules for extra flavor depth, when brining longer than 45 minutes. Your taste buds will thank you!
Juicy Baked Chicken Breast (Never Dry!)
Ready to master the ultimate tender chicken breast recipe? Let’s explore the secrets to perfectly cooked chicken. It’s all about technique and precision.
Step-by-Step Preparation Guide
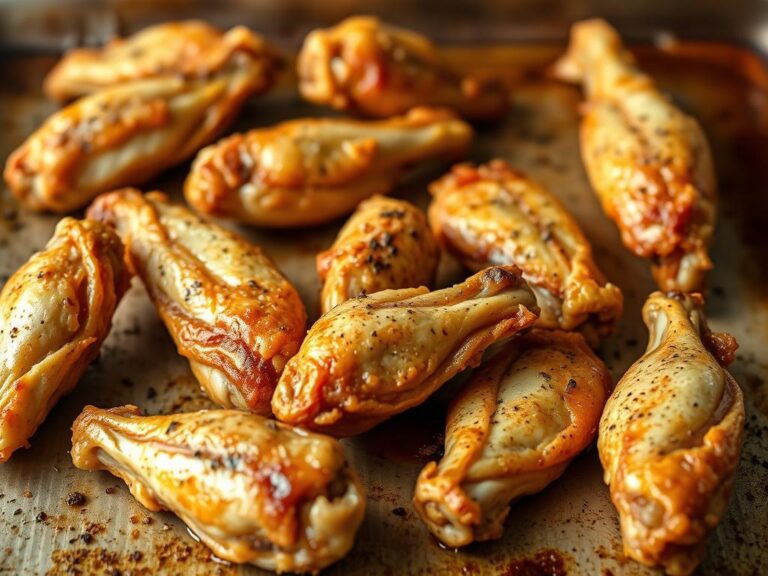
Begin by picking chicken breasts that are about 1 inch thick. Pat them dry with paper towels for a golden-brown look. Brush each breast with olive oil and season well.
For extra flavor, let the seasoned chicken sit at room temperature for 10 minutes before baking.
Temperature and Timing Tips
When baking chicken, precision is key. Preheat your oven to 400°F for the best results. Bake the chicken for 15-18 minutes, depending on its thickness.
Always check the chicken’s internal temperature with a thermometer. You want it to be exactly 165°F. This ensures it’s safe to eat without drying out.
Visual Doneness Indicators
Want to know if your chicken is done? Look for a golden-brown color and clear juices. After baking, cover the chicken with foil and let it rest for 5-10 minutes.
This step is crucial. It lets the juices redistribute, making your chicken succulent and delicious every time!